
Friday, 15 February 2013

Thursday, 14 February 2013
Digipack editing
I have edited 4 photos which I want to use for my digipack using an online photo editing service 'picmonkey.' I firstly chose the four images I wanted to use for my digipack then uploaded them to pic monkey.
 I firstly used the 'Orton Process' and turned up the Bloom to 100%. This made the image look different but I felt that it still needed editing so I tried to find another edit which would make it look better.
Throughout our music video we have used a blue edit, because of this I decided to use the blue edit within cross process which would add a tint of blue to the images. Because I didn't want to have a whole blue image and I wanted it to be quite subtle I changed the fade to 37%.
Another effect that I thought looked good was the Tranquil effect, I changed this to 17% and felt that the colour of the image now looked good enough to use on my digi pack and it was synergistic with my music video.

Here are the photos before and after.
Before After


Wednesday, 13 February 2013
Adding identity using livetype
Above is a video by myself and Daniel about how we made and imported the identity credits for our music video. We felt that having these credits at the beginning and at the end of the music video gave the video a more professional feel as these credits can be seen in professional music videos that are seen on the TV.
Wednesday, 6 February 2013
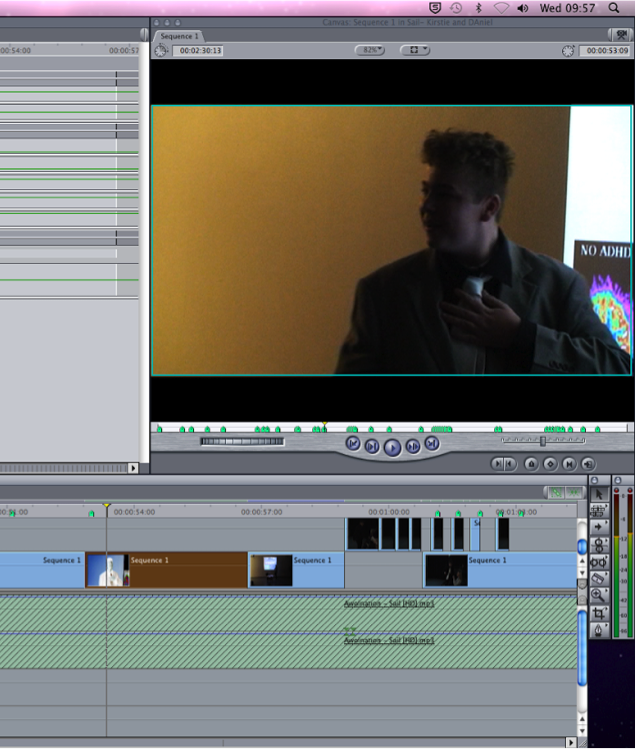
Editing 6/02/2013
 |
| Actor to the right of the screen. |
 |
| Actor to the left of the screen. |
I decided that I wanted to try and change this making it less obvious so I used the 'Flop' effect within the perspective effects folder to flip the clip which made the actor stand on the right side.


This has now overcome two issues but there is yet another issue I noticed. In the first clip the actor has a prop in his hand and when it changes to the next shot, the prop is not there. This is another continuety error which I need to over come. I could accept this error or try to add another shot between the two clips which would in theory give the actor a chance to move the prop between hands. I added in a shot of the audience to break up these two shots and it seemed to work.
Tuesday, 5 February 2013
Copyright
To ensure that nothing I have used within my Digi pack is copyrighted I took my own photos and edited them myself. Along with this I made my own bar code to put on my digipack through 'http://www.barcoding.com/upc/.'This website allowed me to put in my own bar code number making it unique to me and to outweigh the issue of copyright. Below is what my bar code looks like.

Subscribe to:
Posts (Atom)